Selling your iPhone is a fantastic way to recoup some value when upgrading or switching to another device. However, ensuring that your iPhone is properly erased and prepared for its new owner is essential. A factory reset isn’t just a technical step—it’s a way to protect your personal data and set the stage for a seamless transfer.
If skipped or done improperly, you risk leaving sensitive information exposed or frustrating the new owner with unresolved issues like Activation Lock. From backing up your cherished memories to physically cleaning the device, taking the time to follow a detailed process can maximize the resale value and make the transaction smoother.
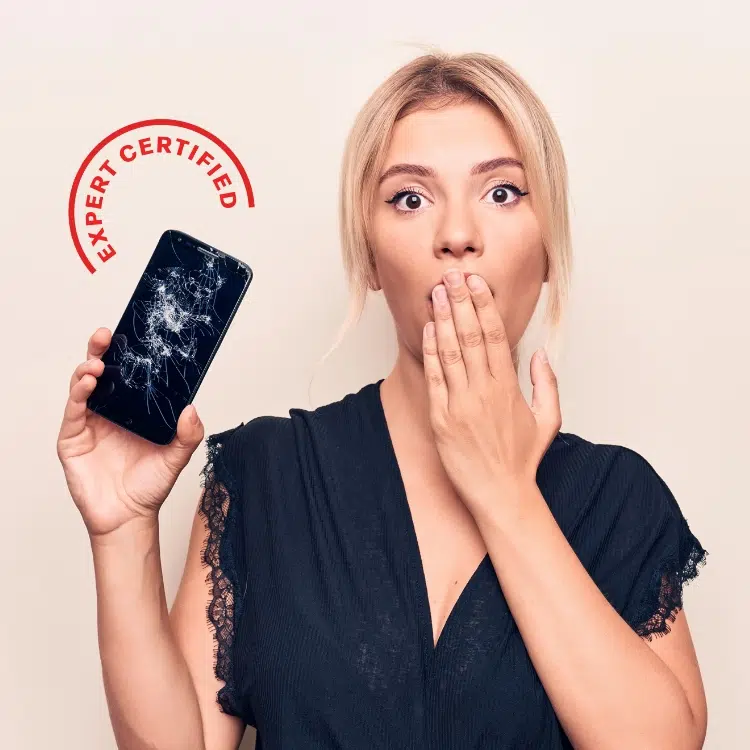
Not sure where to start? Mobile Klinik is your trusted partner for expert advice, secure device preparation, and all things tech-related. Visit us in-store for personalized assistance and peace of mind.
5 Steps to Take Before Erasing Your iPhone
Before erasing your iPhone, some critical steps ensure your personal data is saved, your accounts are disconnected, and your device is ready for its next owner.
Step 1: Backing Up Your Data
Backing up your data is the first step in preparing your phone for sale. This ensures your contacts, photos, apps, and other important information remain accessible even after resetting the device.
- iCloud Backup:
- Navigate to Settings > [Your Name] > iCloud > iCloud Backup > Back Up Now.
- iCloud backups automatically sync your most recent data, including photos, app settings, and device preferences.
- Note: Ensure you have enough iCloud storage; you may need to manage your data or purchase additional storage.
- Computer Backup:
- Use Finder (macOS Catalina or later) or iTunes (earlier macOS or Windows) to create a local backup.
- Connect your iPhone to the computer, select the device, and choose “Back Up Now.”
- This method provides a full, encrypted backup, ensuring your personal data stays secure.
Pro Tip: Unsure which backup method to use? Mobile Klinik can assist with data transfers and secure storage solutions.
Step 2: Sign Out of iCloud and Other Accounts
Failing to log out of iCloud before selling your iPhone can create significant problems for the buyer, as the device will remain locked to your Apple ID. Activation Lock, a security feature, prevents unauthorized access but can hinder legitimate ownership transfers.
- Navigate to Settings > [Your Name] > Sign Out.
- Enter your Apple ID password when prompted, then confirm you want to sign out.
- This step removes the iPhone from your Apple ID, ensuring the new owner can link it to their account.
Also, sign out of other major apps like email, social media, or banking for additional security.
Step 3: Unpair Devices
Unpairing connected devices like your Apple Watch and Bluetooth accessories prevents future connectivity issues.
- Apple Watch: Open the Watch app on your iPhone, select your watch, and tap “Unpair Apple Watch.”
- Bluetooth Accessories: Go to Settings > Bluetooth, locate the connected device, and select “Forget This Device.”
Step 4: Remove the SIM Card
The SIM card contains critical information like your phone number and carrier details. Removing it ensures your account remains secure.
- Use a SIM eject tool or a paper clip to remove the tray.
- Store the SIM card in a safe place if you plan to use it in another device, or request a new one from your carrier if needed.
Step 5: Secure Your Data and Seek Expert Help
If you’re concerned about completing these steps independently, Mobile Klinik offers professional services for data backup, account management, and preparation.

How to Erase Your iPhone Before Selling
Resetting your iPhone securely is the most crucial step in preparing it for resale. This process ensures your personal information is completely removed and the phone is restored to factory settings.
Steps to Reset Your iPhone
Follow these steps to perform a factory reset:
- Navigate to Settings: Open Settings on your iPhone.
- Access Reset Options: Go to General > Transfer or Reset iPhone > Erase All Content and Settings.
- Confirm Erasure: Enter your passcode or Apple ID credentials to confirm the action.
- Complete the Process: The phone will power down, erase all data, and restart as though it’s brand new.
Understand the Difference Between Resets
Not all resets are created equal. A factory reset is the only method that removes all personal data and restores the device to its original state. Soft resets or simple restarts, on the other hand, only address temporary glitches and do not erase content.
Verify the Erasure
After the reset, verify the device has been wiped completely by checking for the “Hello” screen. This is the initial setup screen that indicates the phone is ready for its new owner.
Risks of Incomplete Resets
If not erased properly, residual data can still be recovered by third parties using sophisticated tools. Incomplete resets leave personal files, passwords, and other sensitive information vulnerable. For peace of mind, consider Mobile Klinik’s professional erasure services, which ensure a thorough and secure wipe.
Additional Security Tips
- Avoid third-party apps or tools that claim to erase data; they may not comply with Apple’s security standards.
- For added protection, use Mobile Klinik’s trusted diagnostics and reset services.
Final Steps Before Selling Your iPhone
With your iPhone erased, it’s time to focus on presentation and final preparations to maximize your sale.
Step 1: Physical Cleaning and Inspection
- Use a lint-free cloth to remove fingerprints, smudges, and dust.
- Check for cosmetic damage, such as scratches or dents, that could impact resale value.
Step 2: Include Accessories
Adding original accessories, like the charger, cable, and box, can make your listing more appealing. Even including unused screen protectors or cases can enhance the buyer’s experience.
Step 3: Setting a Fair Price
Research the market value of your model based on condition, storage capacity, and demand. Use online platforms or tools like Apple’s trade-in estimator as a reference.
Other Important Considerations Before Selling Your iPhone
Unlock Your iPhone
Unlocking your phone makes it compatible with multiple carriers, expanding its appeal to potential buyers. Contact your carrier to complete this process or visit Mobile Klinik for guidance.
Check for Active Support
Check here to see if your iPhone is still covered under Apple’s warranty. This information can add value to your sale.
Where to Sell
Explore platforms like local classifieds, online marketplaces, or in-person services, like Mobile Klinik, for a safe and efficient sales process.
Why Should You Prepare Your iPhone For Sale?
Proper preparation ensures a smooth, stress-free sale while protecting your personal information. These steps also increase the chances of receiving a fair price, providing you with peace of mind. For expert assistance with data erasure or to explore certified pre-owned devices, reach out to us today!
Ready to Sell? Make Your iPhone Shine!
Selling your iPhone is easy when you know the right steps. By backing up your data, securely erasing the device, and cleaning it up, you set yourself up for success. Mobile Klinik is here to support you, whether you need help with preparation or are looking to purchase a certified pre-owned device. Visit your nearest Mobile Klinik location today for professional, reliable service!