How to Backup Your Device Data
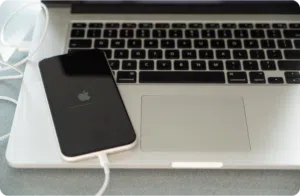
Your phone is more than just a device —it contains personal memories and important information you wouldn’t want to lose.
Learn MoreCanadian owned and operated—shop local, support Canadian. ![]()
Whether you’re upgrading to a new device, switching carriers, or preparing your phone for a trade-in, moving your SIM card is one of the last (and easiest) steps, as long as you do it right.
Your SIM card holds the key to your mobile number and network access—but contrary to popular belief, it doesn’t store everything on your phone. If you don’t prep for the process properly, you could run into issues like missing contacts, failed activation, or worse—no connection at all.
This guide breaks down how to safely transfer your SIM card from one phone to another without losing your data, contacts, or peace of mind.
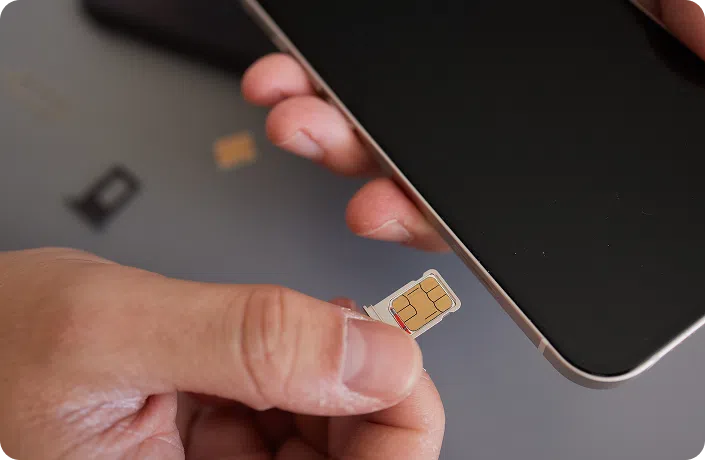
Table of Contents
First, let’s clear up a common myth: your SIM card doesn’t store all your data.
Here’s what it does carry:
And what it does not carry:
This is why a smooth SIM swap also requires you to sync or back up your device in advance. If you’re switching phones but not properly backing up your content, you could lose access to important pieces of your digital life.
Moving the SIM itself is usually simple—but a little care goes a long way. Rushing this process is one of the easiest ways to create unnecessary headaches.
Pro tip: If the new phone doesn’t connect right away, wait a few minutes. You can also toggle Airplane Mode on and off or restart the device to force it to search for a signal.
In many cases, SIM activation happens behind the scenes. But depending on your device, carrier, or region, you may need to activate it manually.
You’ll likely need to manually activate your SIM if:
For most Canadian provider, like TELUS, Rogers, Bell:
For prepaid or pay-as-you-go plans, activation might involve calling a dedicated number or using a self-serve portal.
In-store activation is also available—and often faster if you’re unsure about the process.
Here’s where things can get confusing—many users expect contacts to move with the SIM card, but that’s not how most modern phones work.
Pro tip: Sync your contacts to Google or iCloud instead of the SIM—it’s more secure, and they’ll follow you no matter which phone you switch to.
If you’re switching ecosystems—say from Android to iPhone—the SIM card swap will still carry your phone number and network access. However, the way each phone handles your contacts, messages, and settings is different.
Here’s what to keep in mind:
To avoid disruption:
Your SIM card is only part of the puzzle. When you move it to a new phone, here’s what won’t come along for the ride:
That’s why it’s crucial to:
If something’s not working after the swap, don’t panic. Here are the most common issues and how to fix them:
Swapping SIMs is usually simple—but the moment it isn’t, Mobile Klinik is here to help.
Our in-store techs can:
Whether you’re prepping for a trade-in, setting up a new phone, or stuck between carriers, we can walk you through it—all with your data (and your number) safe and sound.
Get a free phone diagnosis in 5 minutes when you visit us in-store.
Learn more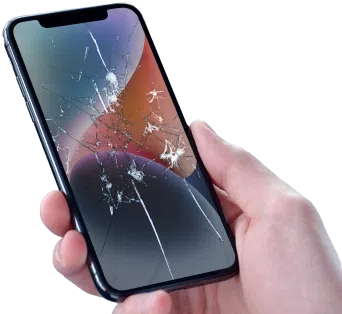
Once your SIM card is in place, your phone number is active—but that’s just one part of completely, and safely, setting up your device.
Make sure you’ve checked off everything on your device prep list:
Your phone is more than just a device —it contains personal memories and important information you wouldn’t want to lose.
Learn More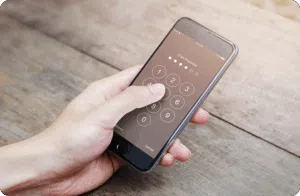
Handing your phone over for repair can feel like letting someone borrow your entire digital life. From texts and photos…
Learn More
Planning to trade in, sell, or repair your phone? Here’s one thing you should consider doing before handing it over—wipe…
Learn MoreWith all these steps handled, your phone is truly ready to trade in, repair, or enjoy for the long haul.
Our certifications show more than compliance—they reflect a commitment to providing high-quality, safe, and sustainable device solutions Canadians can count on.


